How to get even more space on your shelf for displaying models
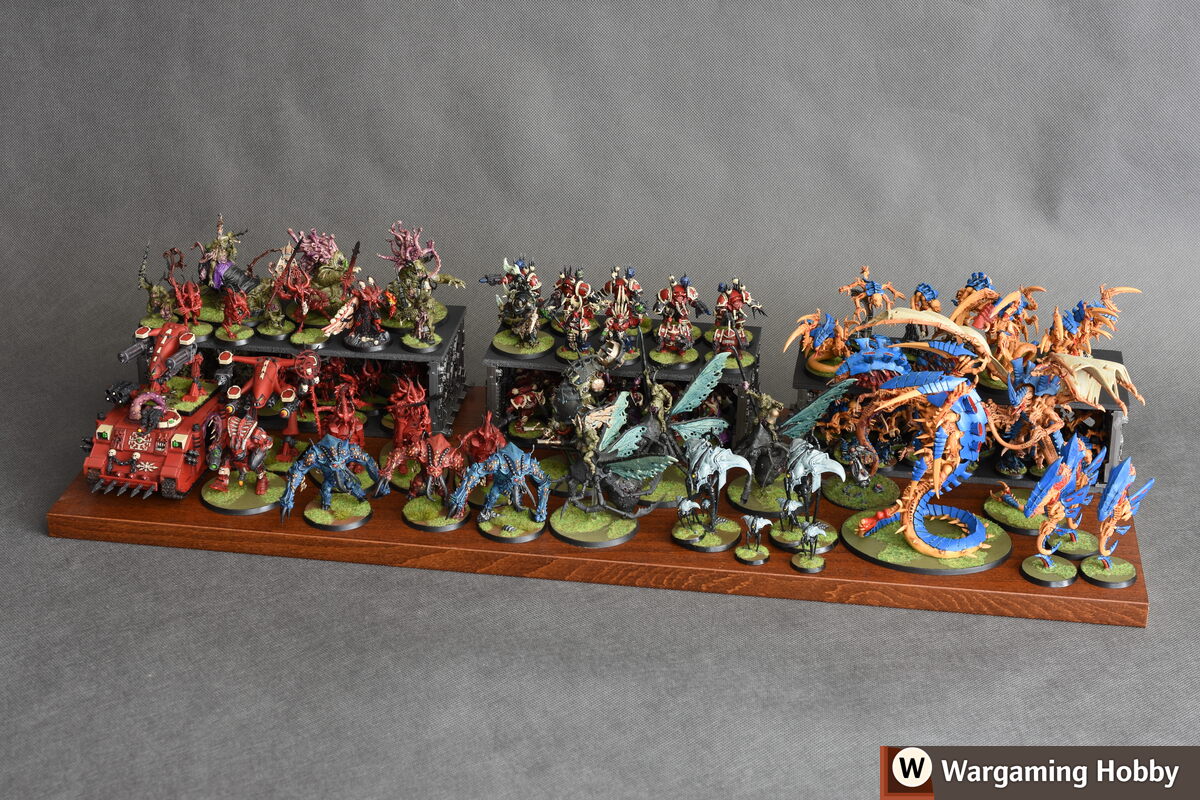
Some time ago I showed you, how to build a storage system that doubles as wargaming terrain. Today I will show you how to crank it up to 11 and get: even more space, for even larger models, and both for 40k and fantasy.
The original problem
For a quick reminder, what this is all about. If you are, like me, in this hobby for a longer time, you have probably accumulated a lot of models, including scores of lowly rank and file troops. They are maybe not so great to be centrepieces, but you invested considerable time into painting them, so they don't deserve to be just thrown into a bag.
Another challenge is that they take not only a lot of shelf space, but are also annoying to pull out and back into their storage each time you want to play.
This is where the storage racks come to help. And you can check the whole thing in the article.

Turn it to eleven
You can see above, how the Mk1 racks look set up on a typical Ikea shelf. You can already see, that it is OK for many cases. The grunts are on the racks and larger models are in the front.
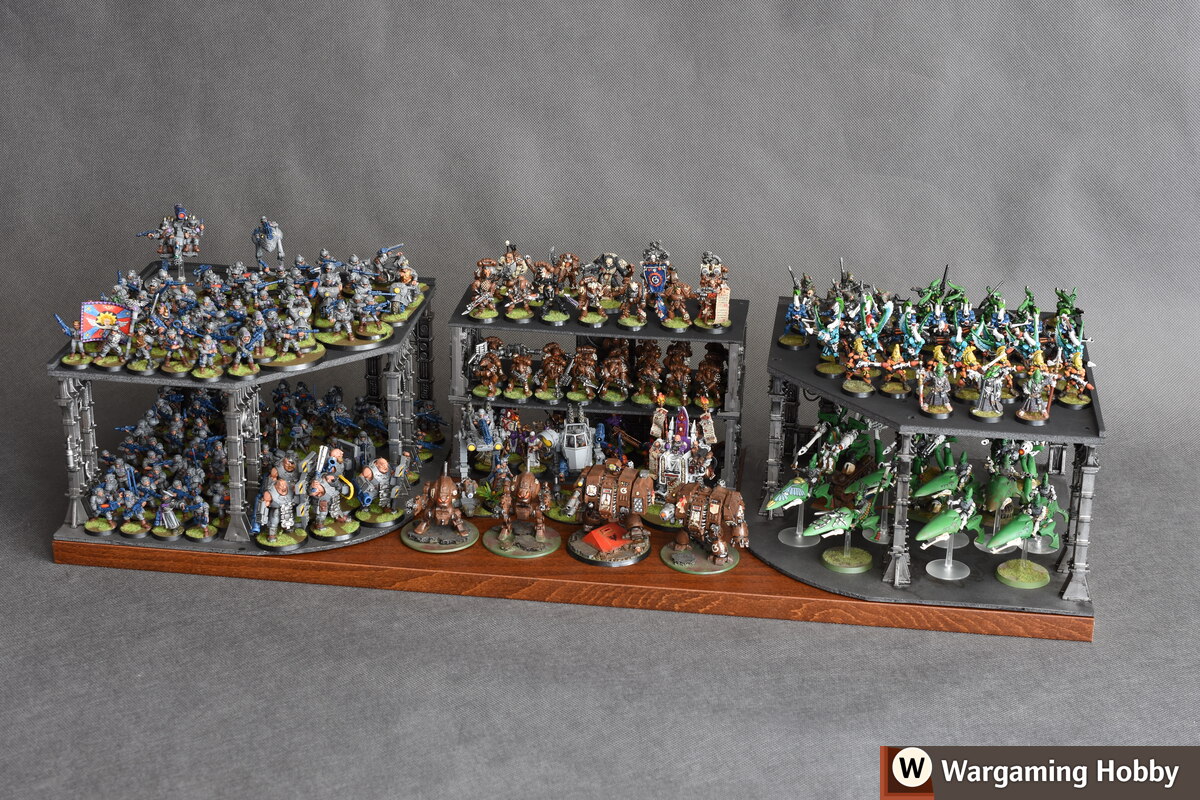
It is very useful for my smaller armies but starts to be a problem for my main ones, which are Eldar and the Imperial Guard.
Note, that I am not looking here for a solution to everything. My super-heavy tanks, flyers and titans or terrain are better presented just standing around on their own as room decoration. And you have to transport and set them up individually anyway. I am talking about all the infantry, smaller vehicles and war machines.

And this is what I concocted using the Sector Mechanicus terrain elements. The pillars are available in many sets as supports for catwalks. Recently re-released even as a separate set of “Transterranic Gantries”. I am talking about the sets with domes and cylinders, that were originally included in the Shadow War: Armageddon box. Now, their various, many times repackaged versions, are available in various boxes called “Battlezone: Mechanicus”.
In my first attempt I used the plastic catwalks as well, but this only limited my options, so I switched to proven foamcore boards.
The tops are easily removable both to access the models and to move them straight to the battlefield.
I left the pegs connecting the original plastic catwalks to make a solid connection to the boards. I created the positioning holes in foamcore just by pressing the board to the pillars.
The pillars on the other hand are firmly glued to the bottom, so that you can conveniently move this floor as well.
Note the positioning of the pillars. Those at the front are perpendicular to the shelf and those at the back are parallel. This way it is easy to remove models but they do not slip to the back. An added benefit is making the whole contraption more sturdy.
Note the extended Mk1 rack in the middle. They are still useful in my setup as I like to leave some place in the front for larger models.
I am quite happy, how it turned out and how it works in my every day hobby and game life.
By the way I have shown how to get it painted quickly in my previous storage rack video.
The eagle-eyed of you may have also noticed, that my Eldar guardians are not here but on the Mk1 racks on another shelf. My system makes the shelves hold more models but it has its limits too.
But what about fantasy?
What if you have a collection of Warhammer or Kings of War models?
Essentially you can do the same, but there are some watch-outs.

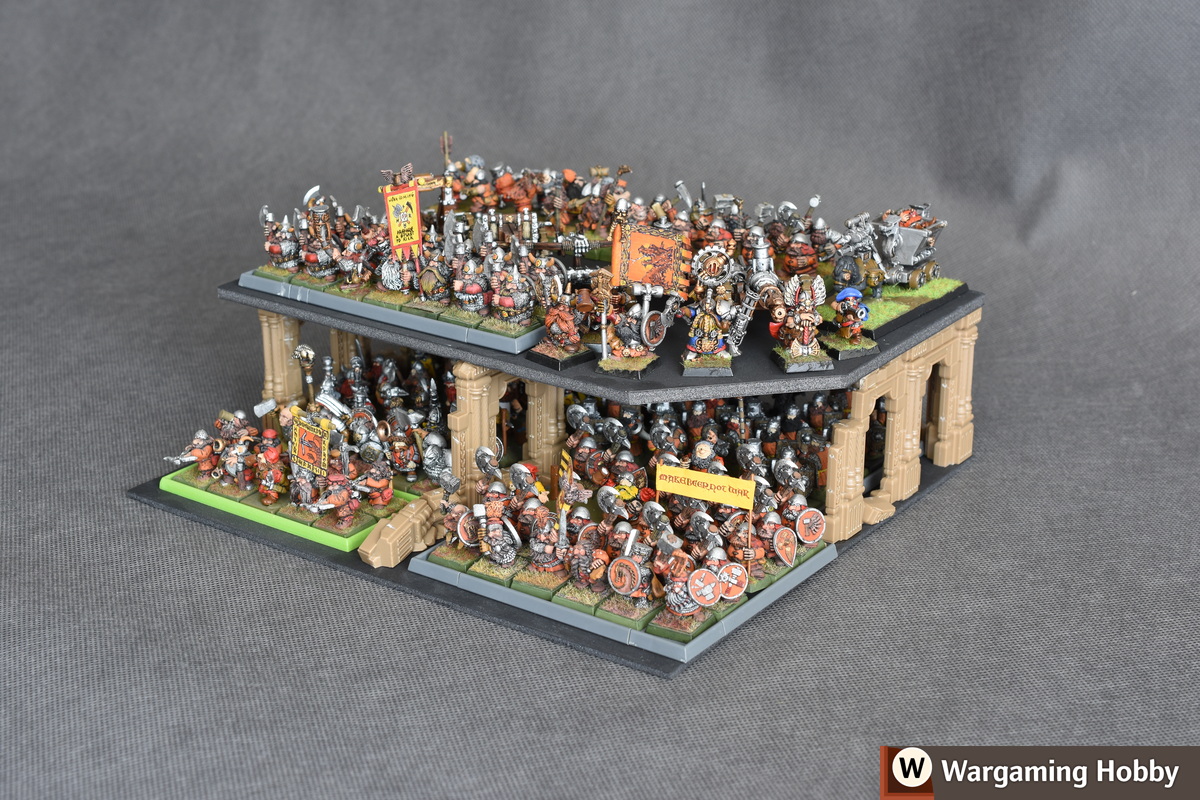
First of all I played dwarves a lot, so these Azyrite Ruins were perfect size for me. For higher models, you need something else, like newer Age of Sigmar terrain or even just plastic columns used for decorating cakes.
But the main complication comes from the fact, that for Kings of War and Warhammer Fantasy, you want to store not individual models but entire units on their own unit bases. At the same time you don't want to lock yourself into any specific unit size.
My solution, was not to glue the central wall but to keep it removable. Note, that I cannot get rid of it completely, as the top floor would over time cave in under models' weight. Trust me, I tried.
With the central wall removable and again using the trick with front walls being perpendicular while the back ones being parallel, I managed to obtain a really good structure.
I highly recommend you try doing the same for your shelves!

 Share the link
