Magnetising miniatures as an alternative to pinning and for ease of transport
2017-08-04
 Share the link
Many players magnetise their models to have an option to change their weapons. But even if you're a hobbyist keeping faithful to one model configuration, you may benefit from magnetising some parts

How to magnetise miniatures


- Resin/finecast miniatures are notoriously fragile
I made the lance arm of this knight magnetised so that it breaks loose before it breaks in half.
- Even some plastic models have poses that make them break easily
Swords are thin and thus difficult to pin. But you can magnetise the entire arm.
- To make the process easy for you use magnets to hold magnets.
Magnetising is really easy:
- Buy a heap of 3mm magnets from eBay or wherever. They are cheap and easy to obtain.
- Drill 3mm holes in the model parts. Start with a thin drill for extra precision and then move to the required diameter.
- Position the magnets carefully observing their polarity. To make things easier use other magnets to form a rod for handling them.
Extra tip: I keep the polarity consistent across my entire model collection so that I can potentially swap weapons or bases between models.
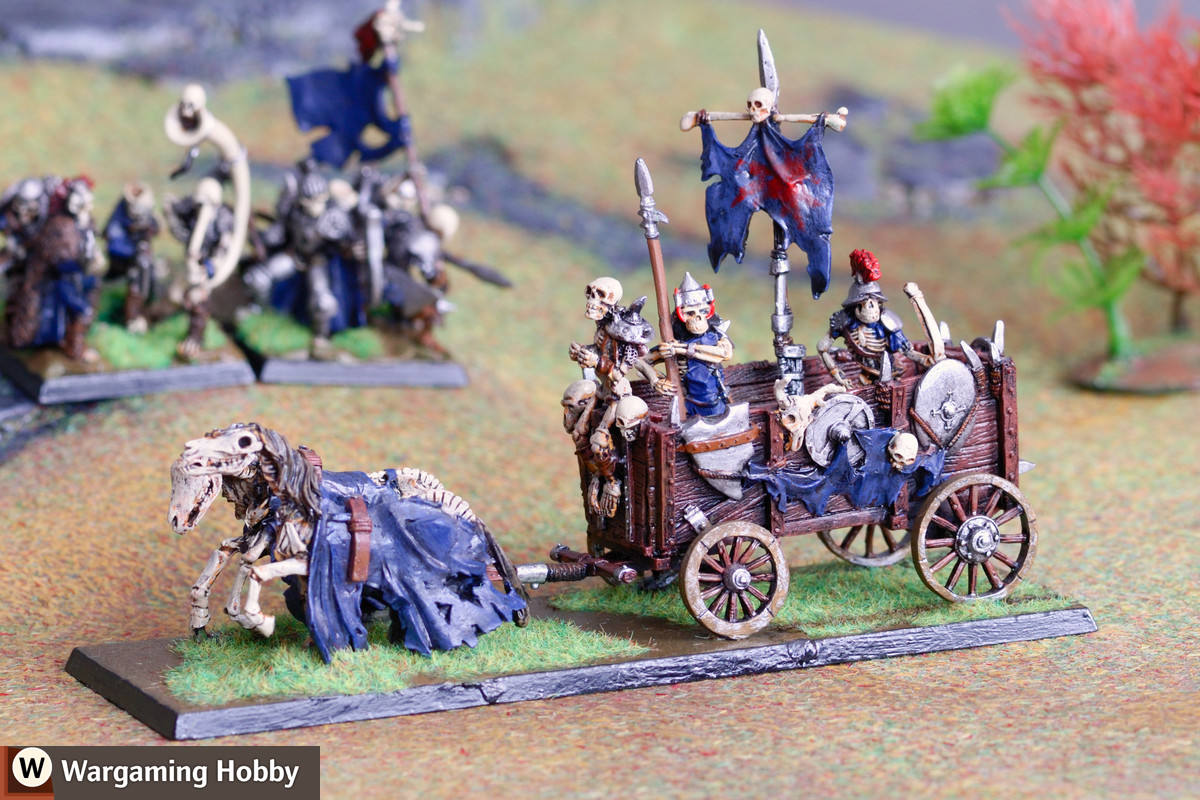
- I also magnetise elements that stick out and make the model difficult to transport, like the banner pole on the picture below. Note that models in the cart are on normal bases and are removable as well: